Digitising Embroidery Patches

Digitising Embroidery Patches
If you are not yet familiar with the embroidery stage, the production and digitisation of embroidery patches can be a little daunting. Honestly speaking, embroidery patches and your daily embroidery orders are not much different and difficult. For most embroiders, the initial hesitation or reluctance was simply because they had not done a similar job before. However, you have to start sometime.
Once you get started, the embroidery patch actually one of the most popular orders for digitizers. We'll go through some standard practices for patches digitising. The article is actually for the beginners.
First, scan your patch and get it in a graphical format. When done, open it in digitising software. Make sure everything is well-focused. Make sure the patch is in the center of the outline. Because your design always starts from the center and stops, it will set everything up.
When digitising embroidery patches, always work at a distance from the border. This is important, otherwise, the presser foot on the machine will hold it down. This can create distortions in the production phase.
Once you did with the design of embroidery digitising, it is time to apply it. Before applying, Things You Must Know While Digitising Embroidery Patches. This outline will be the starting along with the ending point as well. The purpose of this outline is to determine where the patch should be. You can also make your outline and design overlap, to simplify things.
When digitising, add a stop function here. Embroidery machine will be stopped when embroidering outline. Embroidery patches are just a bit different. The only possible challenge in this process is to paste the patch onto the fabric. The good news is that there are different ways to do this, just to open the options and make it easier.
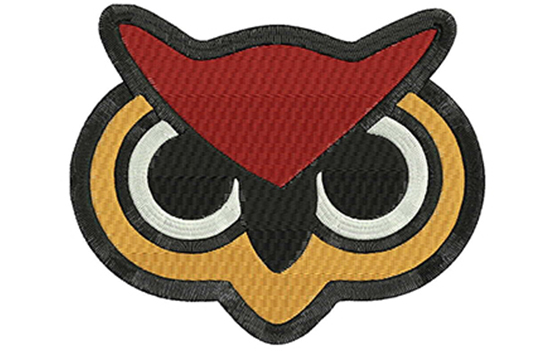
Embroidery patch:
The first one is easy. You can simply use a sticky backing or stabilizer. If you are a bit familiar with embroidery production, stabilizers are absolutely necessary.
The only difference is that these are sticky.
One possible problem that may lift the head is the adhesion of the stabilizer to the needle. This happens only when there are multiple patches embroidered on one hoop. It can lead to frequent disconnection, which is definitely something you do not want to let happen. The solution to this problem is to clean the needle with a drop of oil and cotton.
The second option is to use a spray adhesive. Make sure the glue you are using is designed for machine embroidery. Apply adhesive to the back of the patch and allow it to dry. Now, put it on your clothing to see if you stick to it. If bonding does not work well, apply another coat to ensure a firm grip.
CAUTION this is a part to avoid spraying adhesive into the machine. It does cause problems with the proper operation of the machine. As you can see now, embroidery and digitised embroidery patches are not hard. All you need is a bit of focus and practice on the size, shape, and nature of the patch.
To receive the professional look of digital embroidery designs at the lowest price, please contact us. We are a professional, customized digitising embroidery Patches services providers that give you high-quality design in one day. Do you know anything better? It only costs $ 1/1000 pins. Get a quote now!


